Signs You Need to Call for Ice Maker Repair
A refreshing glass of sparkling water with a large ice cube on a table, highlighting the importance of a working ice maker for cold beverages.
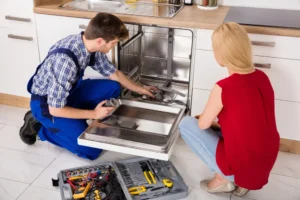
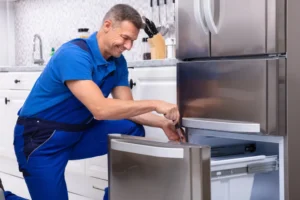
A broken ice machine is incredibly frustrating, leaving you holding a glass of lukewarm tap water right when you want a refreshing cold drink. You press your cup against the dispenser lever, hear a mechanical hum, and absolutely nothing falls out.
Your refrigerator relies on a complex sequence of valves, motors, and thermostats to produce those perfect frozen cubes. When just one component fails, the whole production line shuts down completely.
If you understand the specific warning signs of a failing machine, you can fix the problem before a massive water leak ruins your kitchen floor. You can easily spot a dying appliance when you know exactly what physical changes and performance drops to look for.
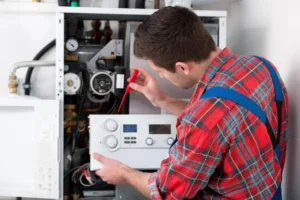
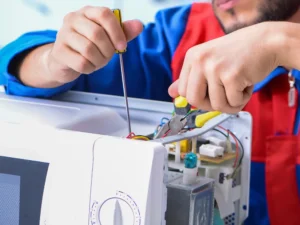
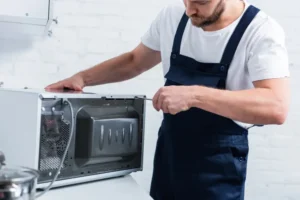
Recognizing Strange Mechanical Noises
Your refrigerator makes plenty of normal operating sounds throughout the day. You expect to hear the gentle hum of the compressor and the satisfying clatter of fresh ice dropping into the storage bin, but you definitely don’t want to hear aggressive grinding or loud knocking sounds coming from the freezer door. A loud clicking noise usually means the water inlet valve keeps trying to open but fails to let water flow through the line.
A grinding sound points directly to a stripped gear inside the ejector motor. That specific motor pushes the frozen cubes out of the plastic mold and into your bucket. Getting professional ice maker repair right when you hear these mechanical struggles saves the motor from completely burning out, since a technician can swap a failing part before the friction destroys the entire assembly.
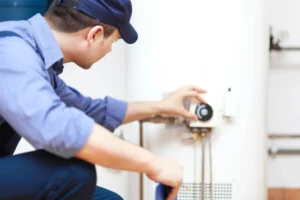
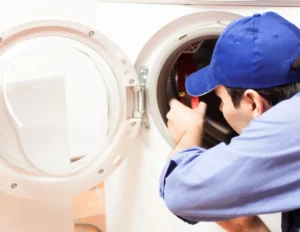
Dealing with Small or Hollow Cubes
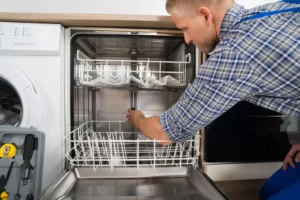
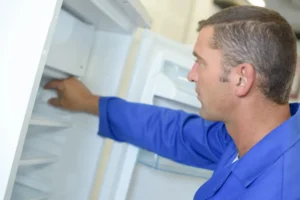
A person reaching into a clear freezer drawer to grab fresh ice cubes from a refrigerator ice maker unit.
Sometimes your machine still makes ice, but the cubes look incredibly sad. You might pull out a handful of tiny, shattered pieces or completely hollow shells. Hollow cubes melt instantly the second you pour a beverage over them, watering down your drink completely. This specific issue usually traces back to low water pressure or a severely clogged water filter.
Your refrigerator needs a strong, steady stream of water to fill the mold completely, and a partially blocked inlet valve trickles just enough water to freeze the outer edges of the cube mold. Replacing your filter fixes the problem if it only happens occasionally, but a persistent issue with hollow ice requires a technician to measure the water pressure and inspect the copper supply lines hidden behind your fridge.
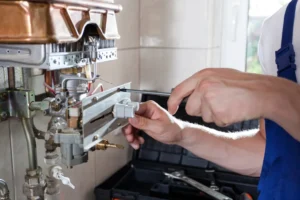
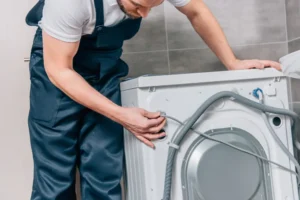
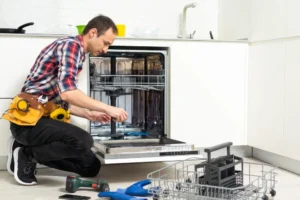
Spotting Water Leaks and Puddles
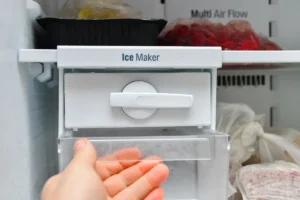
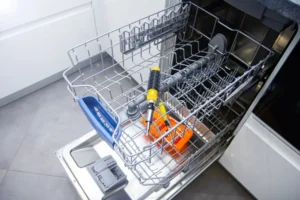
Close-up of a white internal refrigerator ice maker, showing the mechanical components that may require professional repair.
Puddles forming around the base of your refrigerator point to a massive malfunction in the freezing cycle. You might walk into the kitchen in your socks and step right into a freezing cold puddle. Water leaks happen when the supply line cracks or the fill tube shifts completely out of alignment.
Sometimes the machine pours water into the mold, but the mold already has solid ice stuck inside it. That fresh water overflows the plastic tray, drips down the back of your freezer interior, and eventually pools on your kitchen floor.
Ignoring a steady drip rots your floorboards and creates the perfect environment for dangerous mold growth hidden underneath the heavy appliance. A fast response stops the water damage in its tracks.
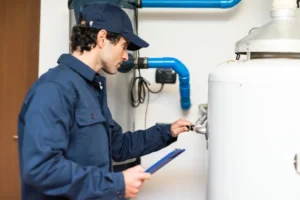
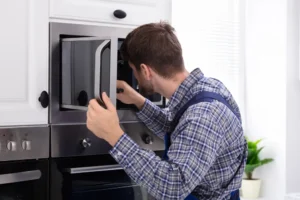
Finding Massive Blocks of Ice
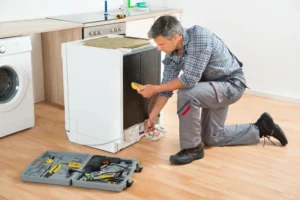
A pile of clean, clear square ice cubes against a white background, representing the ideal output of a well-functioning home ice machine.
You open the freezer bin expecting loose cubes and instead find one gigantic glacier block, but a solid chunk of ice usually means the internal thermostat failed. Your machine relies on that tiny sensor to know exactly when the water turns solid. A broken thermostat tells the machine to drop the ice way too early.
Slightly wet cubes fall into the bin and freeze completely solid to all the other cubes. You might also have a faulty dispenser chute flap. Warm air from your kitchen sneaks up the chute, slightly melts the ice in the bin, and refreezes everything into a giant brick. Chipping away at the block with a butter knife damages the plastic bin and ignores the root mechanical failure completely.
Noticing Foul Tastes and Bad Smells
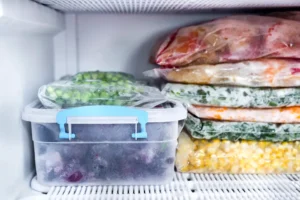
Fresh ice should taste like absolutely nothing at all, meaning you have a serious contamination problem when your ice tastes like garlic, old leftovers, or harsh metallic chemicals. Your freezer circulates air constantly to maintain a freezing temperature. If the ice sits in the bin for weeks without moving, it absorbs all the odors from the frozen foods sitting nearby.
A harsh chemical taste indicates a deteriorating water filter or a peeling coating inside the freezing mold. Flakes of metal or plastic end up frozen right into your beverages. Emptying the bin and washing it with warm soapy water helps temporarily. If the bad taste comes right back the next day, you need a professional to inspect the water supply lines for degradation.
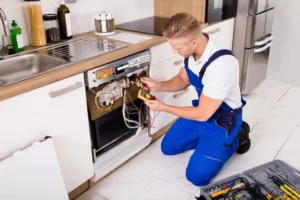
Getting the Right Professional Help
You rely on your kitchen appliances to make daily life comfortable and convenient. A steady supply of fresh ice makes hosting parties easier and keeps your family hydrated during hot summer afternoons.
But this isn’t always something you’ll want to DIY, as tinkering with the water valves behind your refrigerator without the right tools often turns a slow drip into a massive flood. Your cooling system runs on high-voltage electricity and pressurized water lines, meaning you need experienced technicians to handle the internal components safely. A reliable ice maker repair requires specific testing equipment to check the electrical continuity of the mold heater and the internal thermostat.
You deserve to have appliances that work perfectly every single time you use them. The team at Edmond Appliance Repair knows exactly how to diagnose and fix your broken ice machine.
Stop settling for warm drinks and stop buying heavy bags of ice from the gas station down the street. Call Edmond Appliance Repair today to schedule your service appointment and bring the convenience back to your kitchen once and for all.